Friday, August 17, 2012

My bike as of 17 August 2012

So a few posts below I showed my stock bike...now to show you my final product, for now.

Just to refresh, here is the stock ride.


And here she is, all dressed up and lots of places to go.


And here is the current list of mods done to make her my own, starting front to back.

Reckless Fairing with ipod stereo, painted windshield with 3 pouch bag.
55w running lights mounted on custom painted lowers
125db Wolo air horn
Hardwired Garmin nuvi 2455LMT GPS
12" springer apes
G-man Bully fuel processor
Thunder Mfg OEM cover airkit with K&N filter
6 circuit wiring block for power
Mutazu DMY trunk, reinforced with fiberglass, luggage rack and a hardwired 12v accessory plug.

I am sure some other small stuff, can't remember what as of right now.

Trunk and wiring install

OK so now that I have a trunk to put on the bike I should describe how I want it set up when it is all said and done.  I have the Mutazu DMY trunk, and while they aren't exactly know for their high quality I got it for an amazing deal (free!) so I decided to make it stronger.  I bought fiberglass resin and some cloth and lined the inside with a minimum of 3 layers with the corners and high stress points getting up to 5.  This thing does NOT flex at all now.  Unfortunately...no pictures of the process but I will post the final pic before I put the carpet down.

Picture of fiber-glassed inside here

Even though my new fairing has a 12v plug in on it, it is kind of awkward to charge anything other than a GPS there so I decided I want a 12v plug inside the trunk so I can charge anything while I ride.  I also bought a rack for the top of the trunk and with it the seller sent a random led taillight strip I was determined to make work.  Using my very adequate electrical skills I cut off the included connector and figured out which tail light wire to solder it into (the one that only has ~12v with the brakes applied if you were wondering....or the blue one on 2009 or newer Nomads)  Unfortunately you can't see where I soldered it in here but that is the point.  I tied in the 12v plug power to the circuit board and the ground will be single wire until it is in the trunk and I will solder in a tap off for the brake light to minimize wiring going into the trunk.


This is where it is going to come out and I will connect the trunk with a 3 wire trailer plug that is in the mail now.


Soldered up the connector, and you can see the 12v plug here, solder to a 3 pin connector that extends about 3 inches from where it exits the trunk on the bottom.  Found out with the trunk mounted I could not make the brake light work for now but it is still wired up for future upgrades.


This is the fiberglass lining inside the trunk, ~3 layers and painted dark gray primer, covering with outdoor carpet once I am all set up.


OK now for the trunk setup from the outside.  I have the Mutazu luggage rack and upgraded backrest for the wife...a happy wife means a happy husband (rule of life :) ) Same rule applies, no judging garage!


He did a really great job matching paint seeing as we picked a Harley silver (I know, I know parts will start falling off and the trunk will start leaking oil soon, hehe) and a Honda red.

So that's it for the trunk specifically, I will post and update for the final product...well final for now, are we EVER really done with mods?

Monday, August 13, 2012

Custom lowers

*Disclaimer*  There is no judgement on the cleanliness of my garage, I know where everything is right now and when all projects are done I will clean it up then.  :)

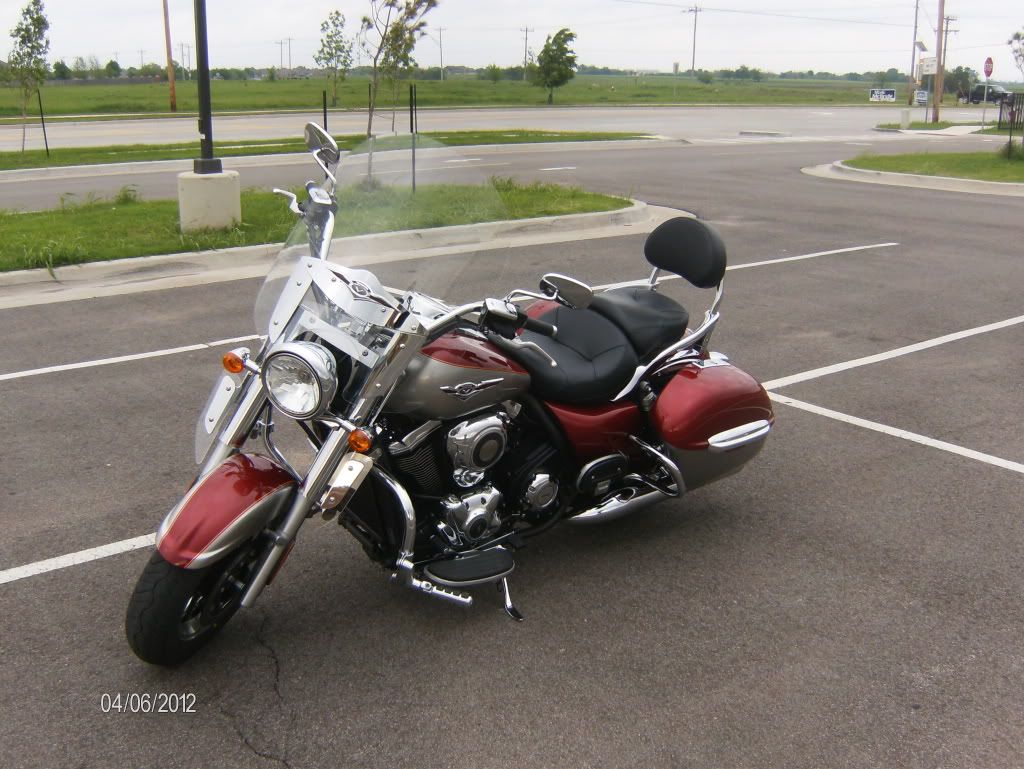
One of the main reasons I chose the Nomad was it has ALMOST everything I wanted in a bike or was a very good foundation for what I had planned.  One of the things it had that I wanted was lowers, which is something my C50 sorely needed...well, pretty much any bike with a windshield needs them.  However, they were tiny and relatively useless, but the mounts were nice so I decided to make my own and add some personal 'flair' to them.  I used a sheet of ~1/4" thick (can't remember) lexan I purchased years ago at Home Depot for lowers on the C50 that never worked out.

Here is my new ones cutout compared to the OEM ones.  The notch at the top is for the highway bars if anyone wants to do this themselves.


And this one has the OEM laid out on top for further comparison.


And this is what they look like installed on the bike before I torched the sides to make them glassy.


The following idea I got off of Gadget's site, I never really wanted a red bike but it has really grown on me and I really liked the idea of having red glass elements (the fairing windshield will be red too) So using Krylon Red stained glass paint bought at Michaels (just in case you wanted some, only place I have found it so far), seen here:


So using that I decided to paint the back of the lowers (important because the front will retain the glossy look because the back side will NOT look perfect, but you should still be able to see through them a little)  This is what it looks like after 2 coats of the above paint.


And this is what it looks like on the left side (from driver's vantage)


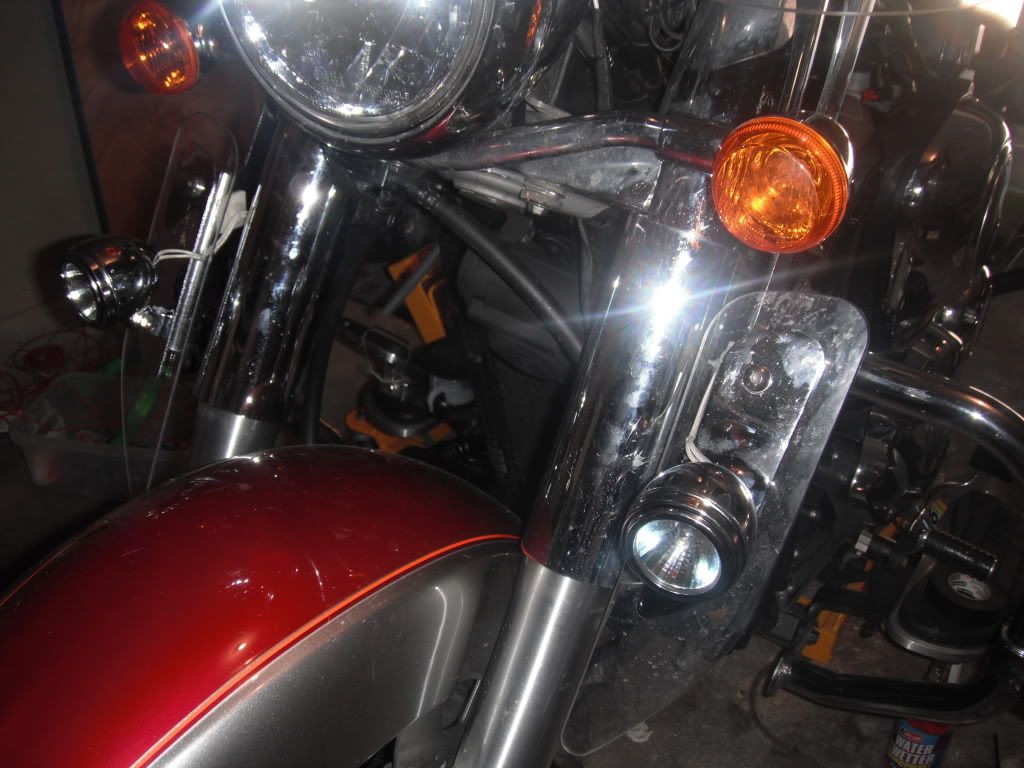
And of course finally what it looks like with the running lights installed, still need to clean up the look but this is as far as this mod will get until I get my fairing installed.  I knwo you are all anxiously awaiting my next amazing blog post, but alas you must wait.

Just for comparison, here is the OEM look


Friday, August 10, 2012

Current list of mods

So you see the stock bike, now let's talk about what I have done.  I wasn't initially making a blog so my pictures are severely lacking but that shall change...right?

First one done, I added a 6 circuit fuse block for future upgrades to the electrical system add-ons.


Then using the awesome fuse block I added a 125 db air horn, some running lights and hard wired power for my GPS.  I also ran some extra wires into the headlamp for future projects.

Air horn


Running lights


And of course the nice, neat wiring job


And finally, this is the fairing currently at the paint shop along with my trunk.  Once I get the trunk back I will be wiring it with an extra brake light and a 12v cigarette type receptacle for charging electronics as I ride.  Then lining the interior with carpet to hide the hideous fiberglass job I did to strengthen the trunk.


Thursday, August 9, 2012

My bike

Since my blog is about my bike and all I guess I need to have some sort of picture of it. This is her on the showroom floor, she is much more mine now and within the month should have the full dresser look (fairing and trunk)